By: Tim Sickle
This article will be rather unique. As the title states, it is the story of two sprint cars, one full-size, while the other is a scaled-down version, hence, the reference to art (1/12th scale) sprint car imitating life (full-size) sprint car.
‘Life’ (a.k.a. Real) World
The sprint car in question is the H & H Machine Tool Special, out of the Dayton/Kettering, Ohio area, and its owner/crew chief is Clarence E. ‘Mutt’ Anderson.
Mutt started out racing motorcycles, but moved to automobiles when someone suggested he get into something safer (?!). So, he decided to try his hand at sprint cars. He was a crew chief for years until taking on the ownership of a car. He is the third owner (1965-1968, a period of four years) of the restored sprint car you see here.
The car was built in California in 1961 by Jud Phillips. It rode on an 85 1/2″ wheelbase, weighed 1,600 pounds, and was ‘motorvated’ by a 301 cubic inch Chevy V-8. Bruce Homeier was the car’s first owner. He sold it to Mickey Rupp, the go-cart king from Mansfield, Ohio, which is where Mutt acquired it. It was eventually owned by a total of 10 different people, many of whom had no idea of the car’s history.
The car raced at such well-known venues as Eldora, Terre Haute, Salem, Winchester, Kansas City, Tulsa, Muskogee, Cumberland, Allentown, Oswego, Gardena, Altamont, to name just a few.
In its heyday, it included a “Who’s Who” of drivers, such as Bobby Unser, Johnny Rutherford, Carl Williams, A. J. Foyt, Bruce Walkup, Billy Vukovich, Jr., and Roger McCluskey. It was McCluskey who gave Mutt a championship season for 1966 – in somewhat dominating fashion, I might add.
The team finished in the top four in 22 out of 24 races: first (9 times), second (6 times), third (4 times), and fourth (3 times). Finishes of sixth and tenth place rounded out this incredible season.
- An intake manifold resin-cast from a scratchbuilt master
- Functional throttle linkage, including hand-wound throttle springs, using 0.006″ music wire
- 0.125″ solid wire solder headers, with photoetched flanges and brass tubing collectors
- Brass tubing exhaust pipes with modified megaphone ends and perforated header guards, using 0.010″ brass sheet, drilled with vent holes, then plated
FRAMEÂ
This was where construction actually began – with a scratchbuilt brass rod frame. Randy created artwork for many brackets and plates and had these etched out of .010″ brass.
TIRES
The tires are a story unto themselves. The front tires were machined from Plexiglas, with the diamond side wall details heat-staked into the plastic, mastered in halves, cast with the cast halves joined together using CA (cyanoacrylate) glue. Finally, treads were then machined into the tread surface. After the tire molds were made using RTV silicone rubber, they were laser engraved to include the sidewall lettering and details.
Meanwhile, the rear tires’ center tread section alone consists of SIX separate rings, with the tread pattern cut into them. These were joined by sidewall masters, meaning each rear tire is eight pieces. Once assembled with CA glue, more tread detail was added.
BODY
Your content goes here. Edit or remove this text inline or in the module Content settings. You can also style every aspect of this content in the module Design settings and even apply custom CSS to this text in the module Advanced settings.
Two Sprint Cars Image 1
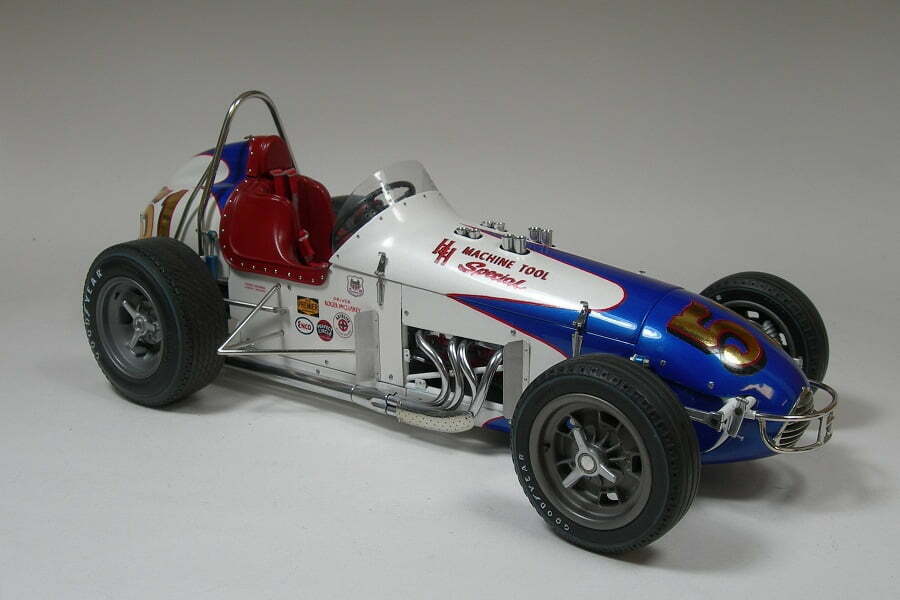
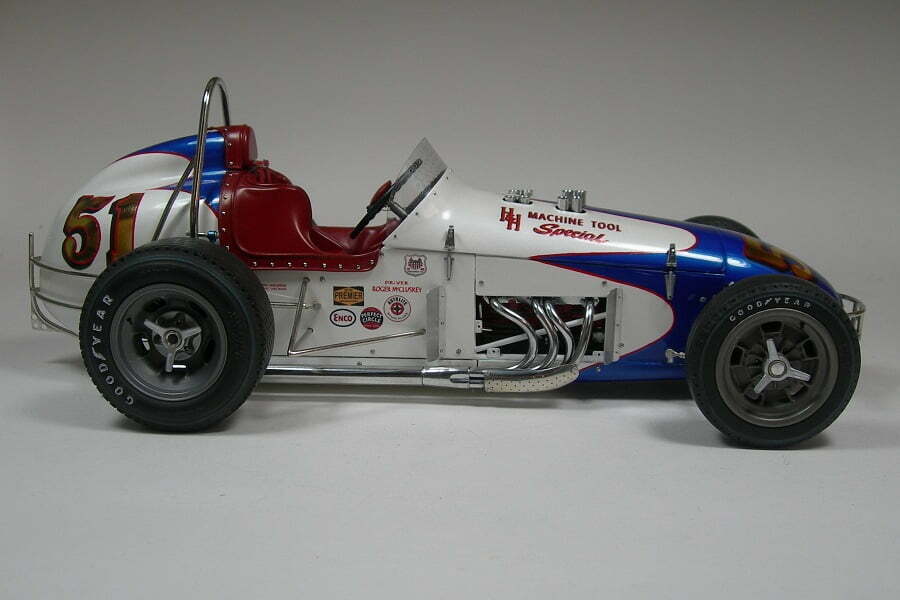
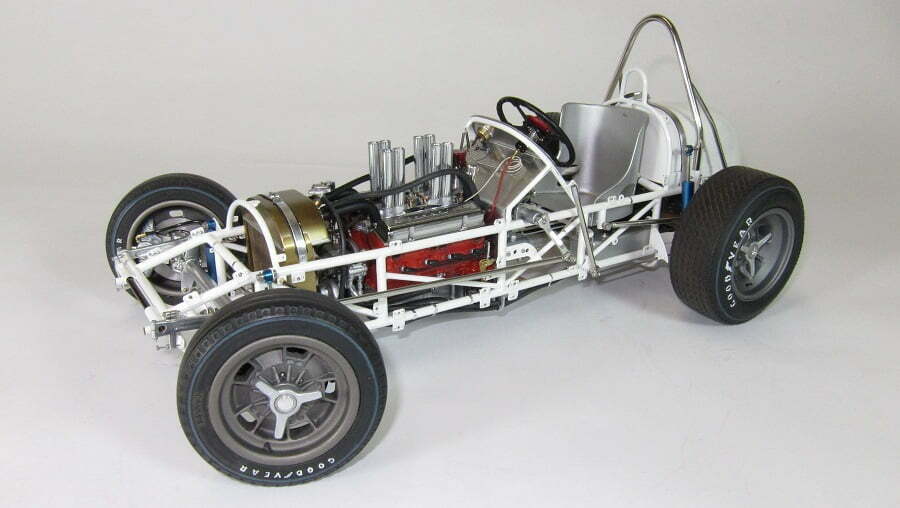
Randy Derra’s beautiful 1/12th scale replica of the H & H Machine Tool Special sprint car
Two Sprint Cars Image 2
Two Sprint Cars Image 3
Two Sprint Cars Image 4
Two Sprint Cars Image 5
Two Sprint Cars Image 6
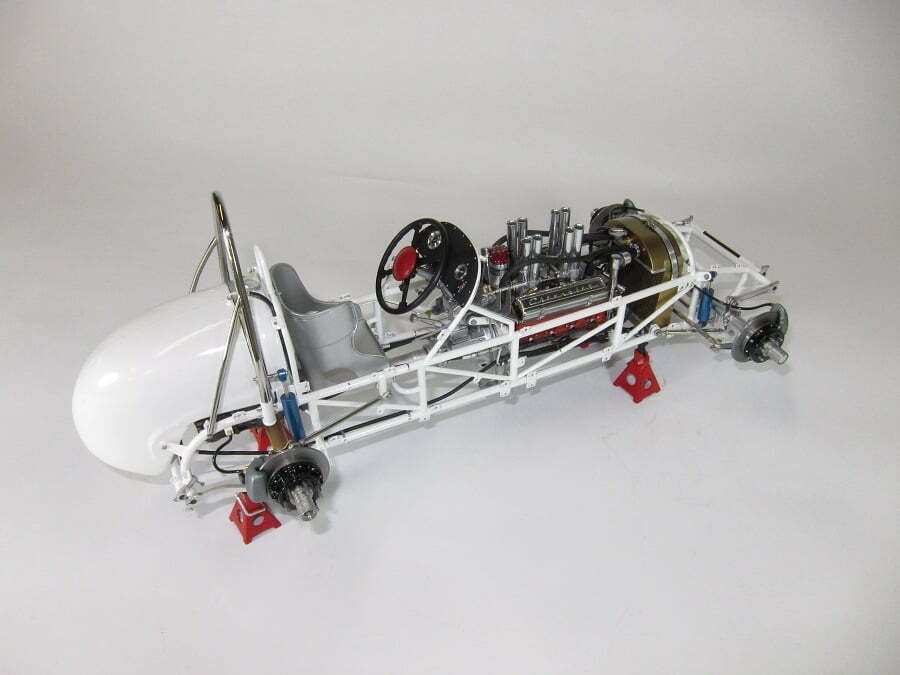
Here we have a shot of the chassis well underway. Check out the scale jack stands!
Two Sprint Cars Image 7
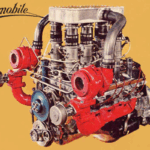
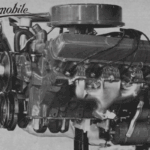
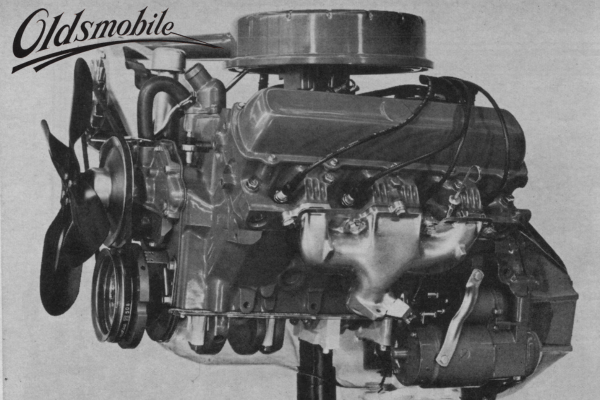
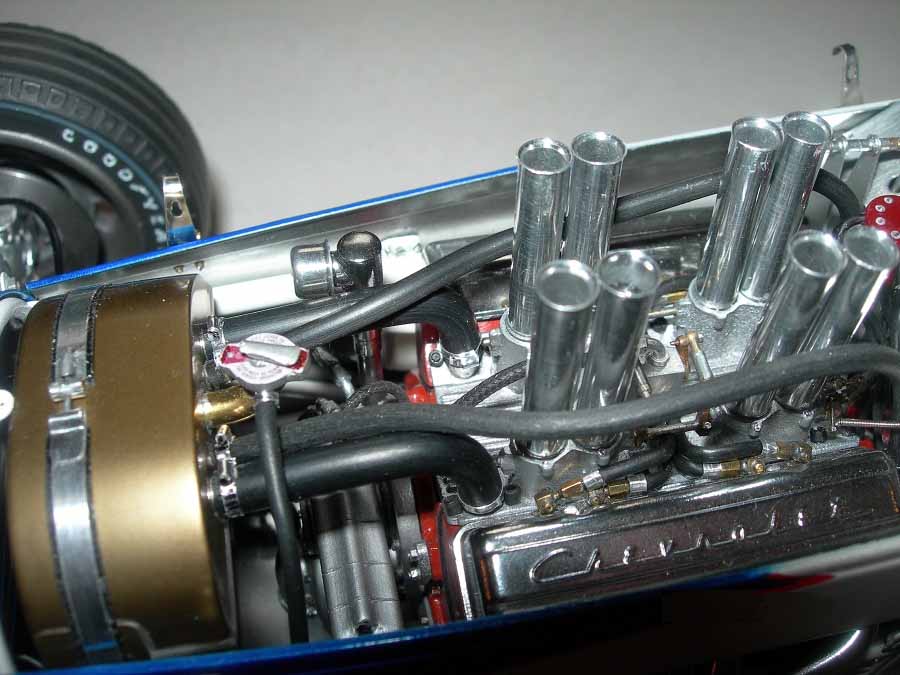
A detailed photo of the 301 c.i. small block Chevy. Almost looks like you could fire it up, don’t it?!
Two Sprint Cars Image 8
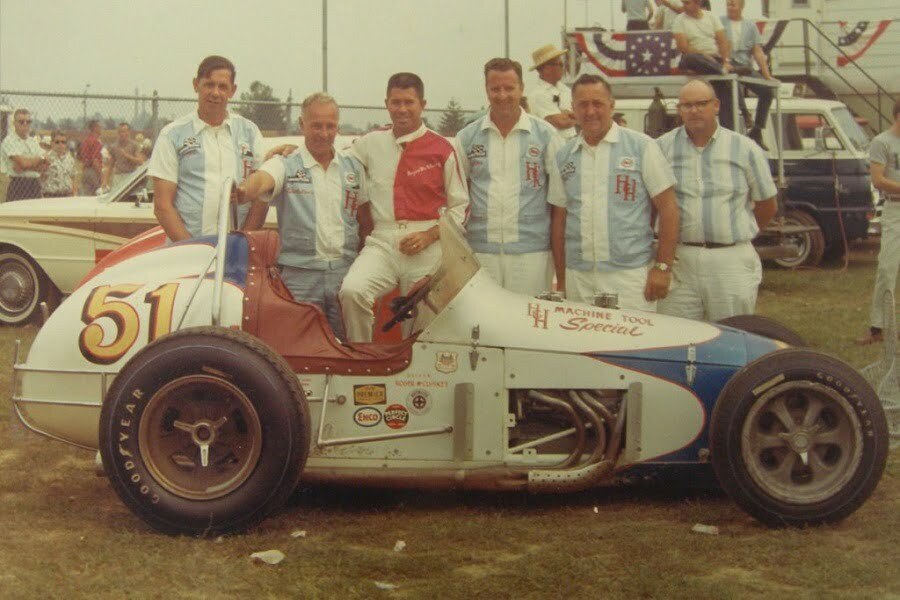
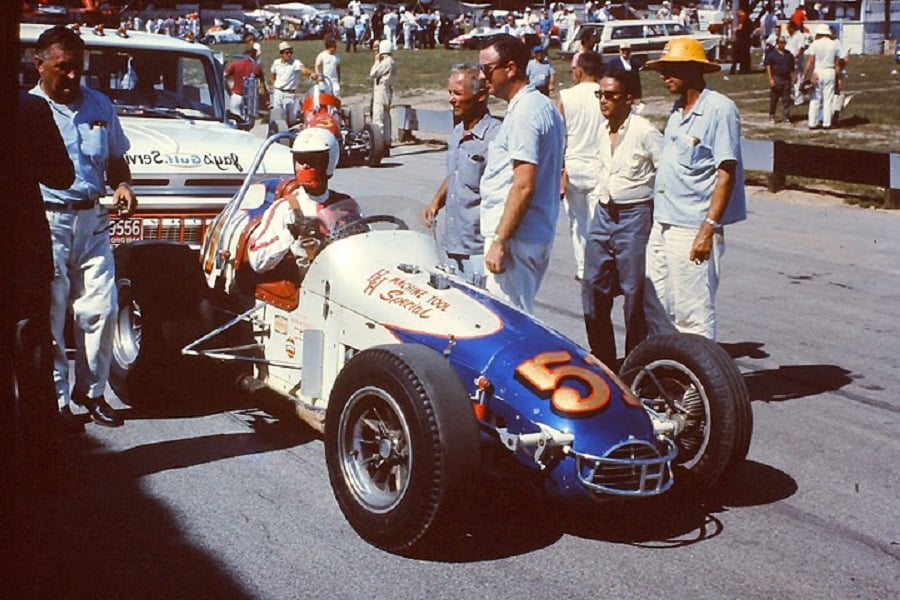
Here is the H & H Machine Tool Special team, fresh off of winning BOTH 30-features of the twin-30-lap races at Terre Haute, in June of 1966. From left to right: George Anderson (no relation), Mutt Anderson (owner), Roger McCluskey (driver), Marion Seaman,
Two Sprint Cars Image 9
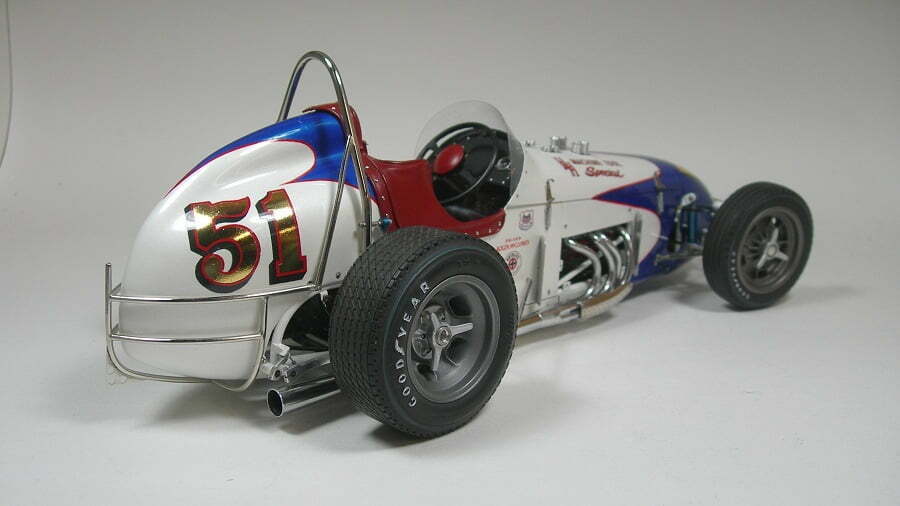
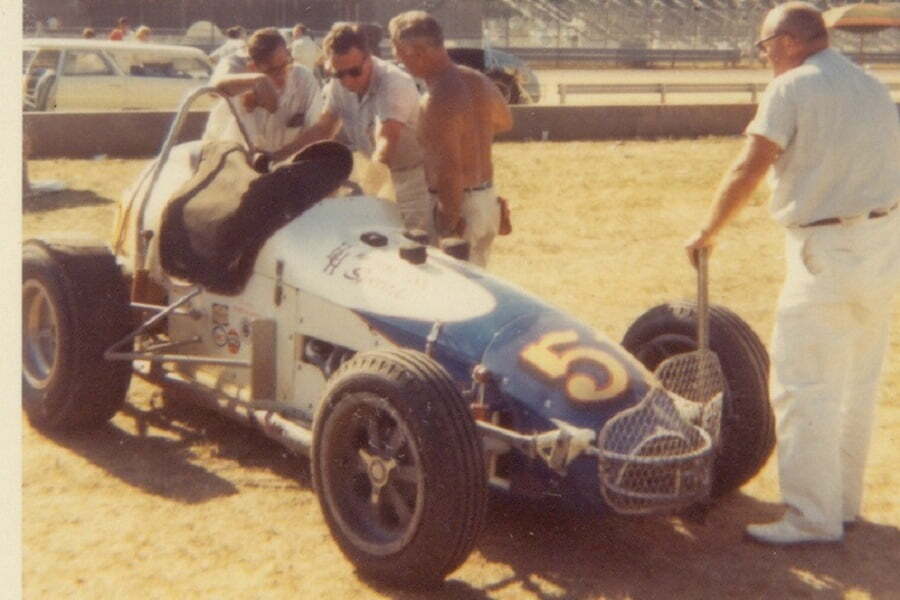
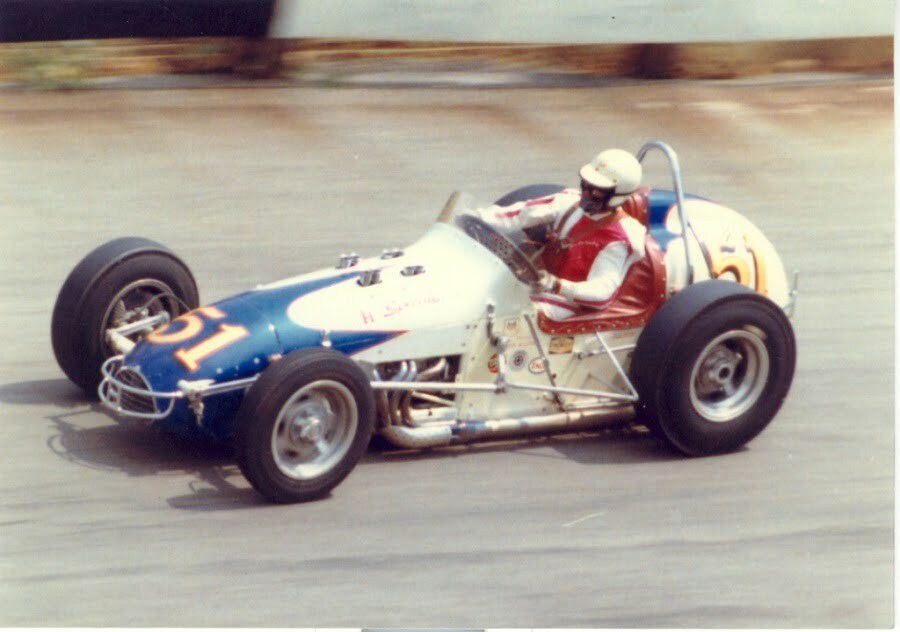
Another Back in the Day shot notice the gravel guard/shield.
Two Sprint Cars Image 10
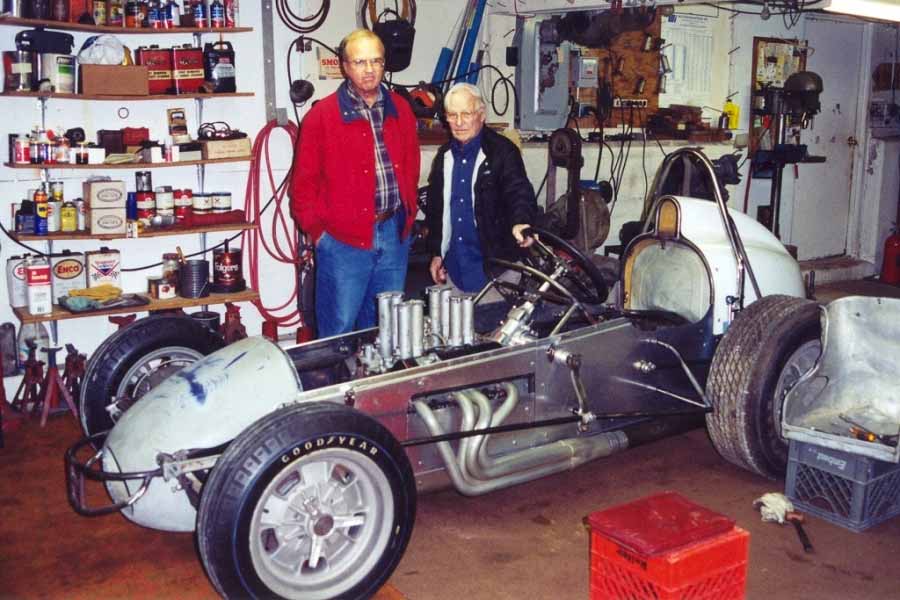
Here is a shot of Mutt and the car during the project.
Two Sprint Cars Image 12
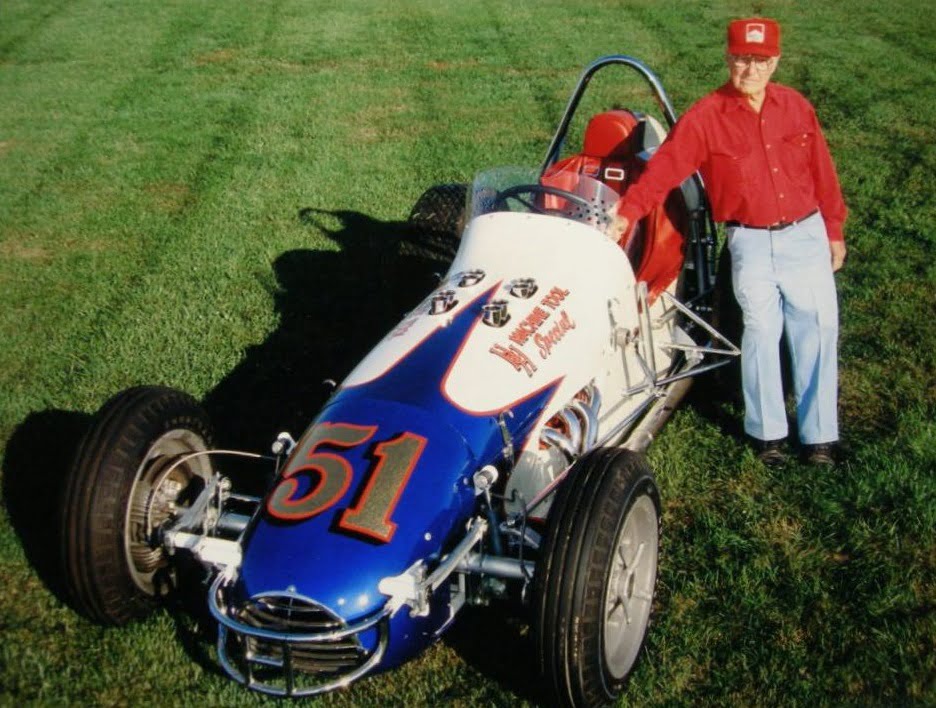
Another shot of the restored racer, this time with Mutt mugging for the camera.
Two Sprint Cars Image 11
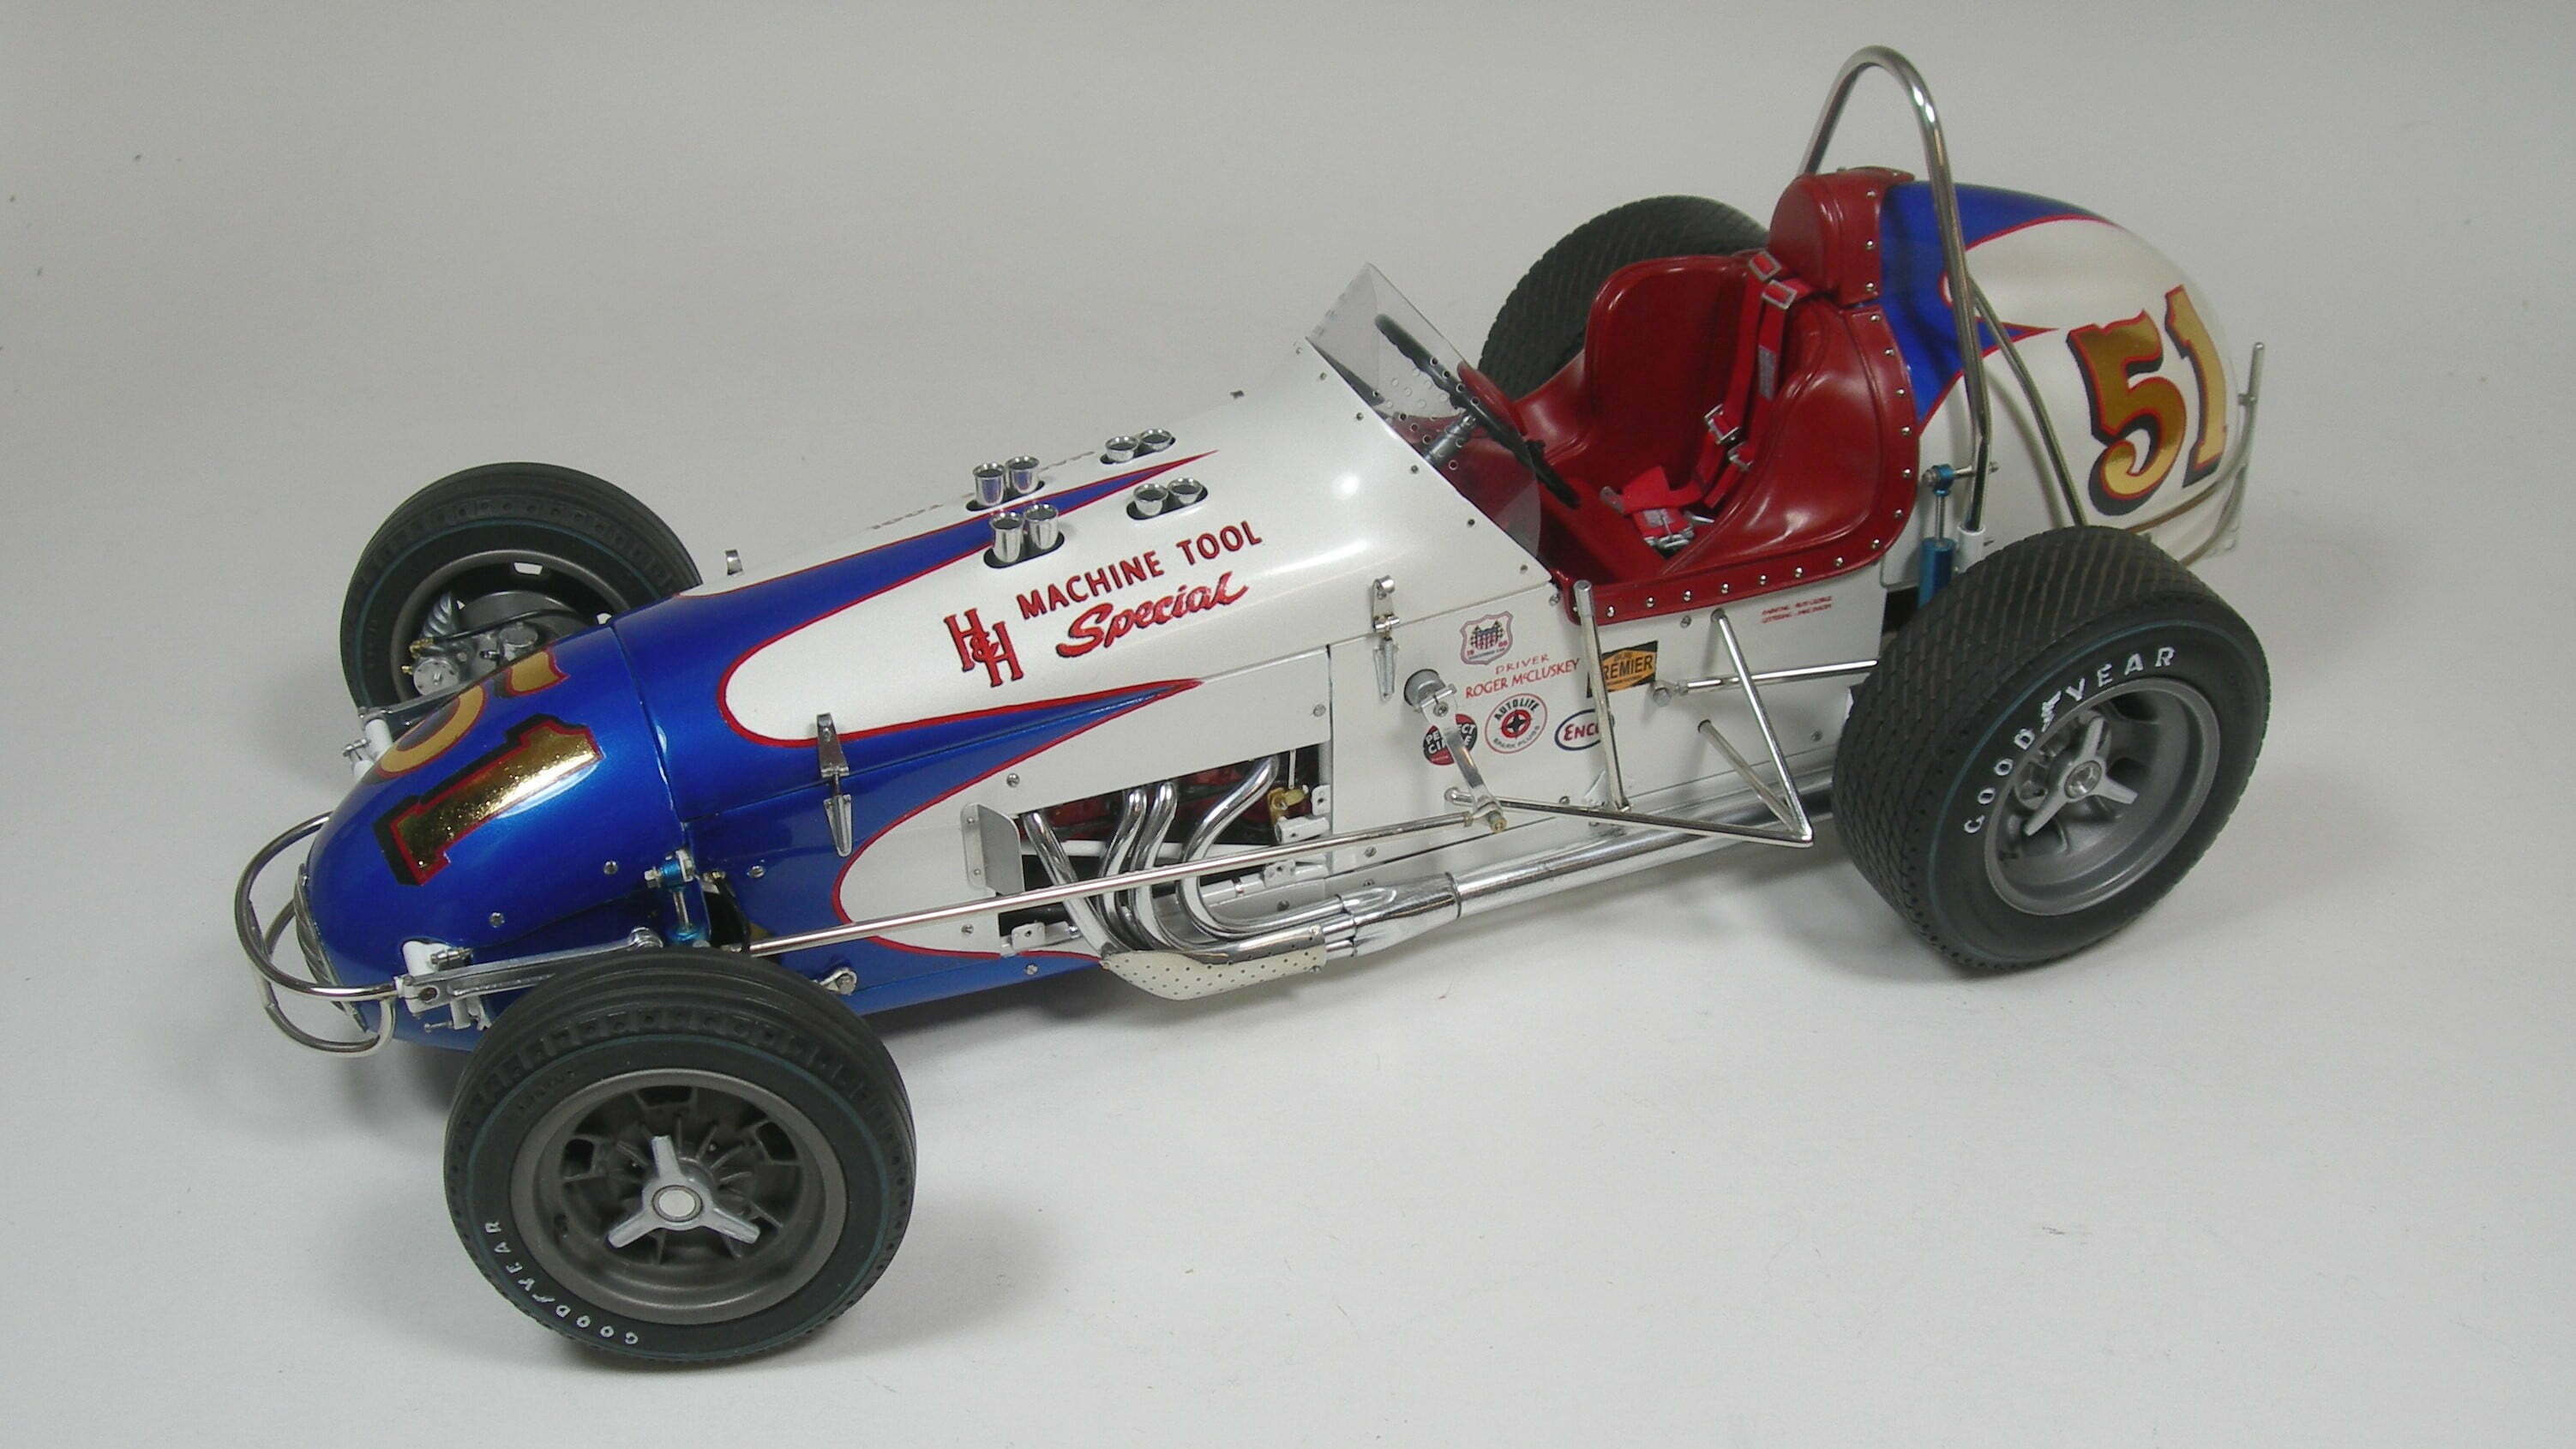
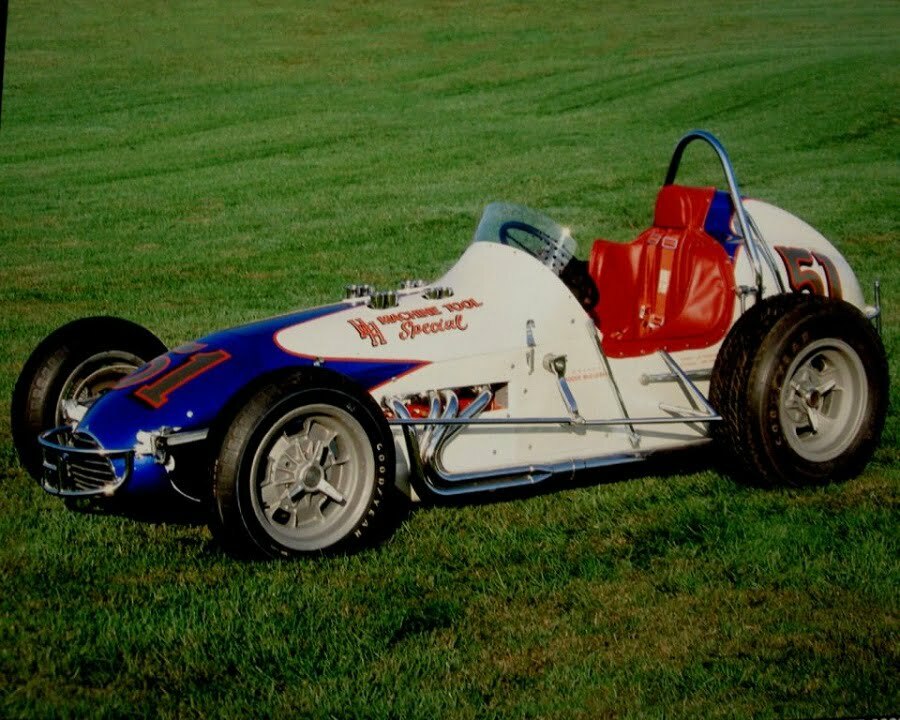
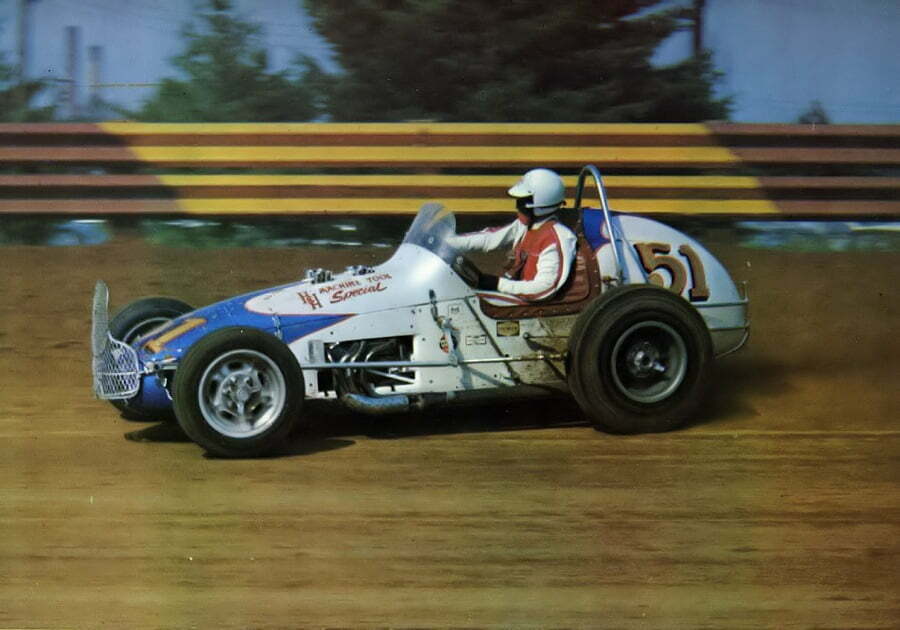
Here is the restored car in all its glory
Two Sprint Cars Image 13
Here the car awaits some action
Two Sprint Cars Image 14
Man hard at work!
Two Sprint Cars Image 15
In the Dirt
Two Sprint Cars Image 16
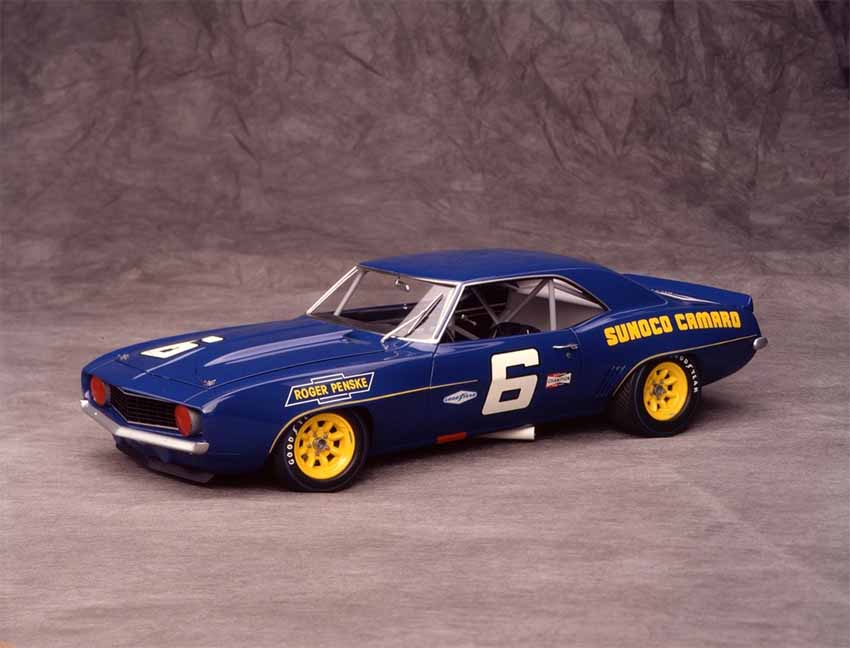
Here we have Randy’s 1/12th scale replica of the Mark Donahue-shoed Penske Sunoco Camaro.
Two Sprint Cars Image 17
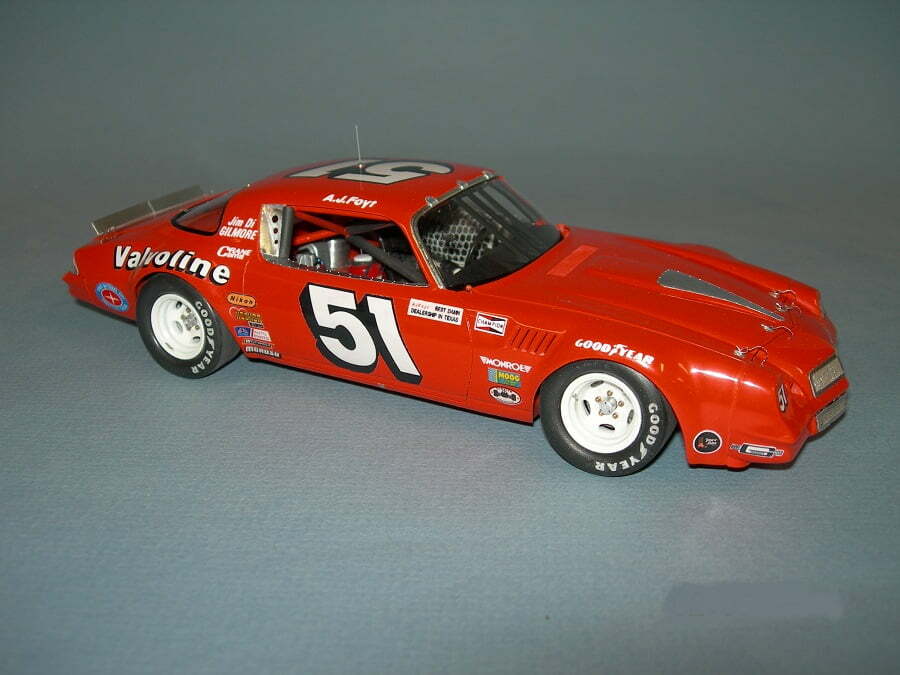
Yet another Camaro, this time a ’78 – the A.J. Foyt 1/24th scale replica.