
By Craig Sparkes
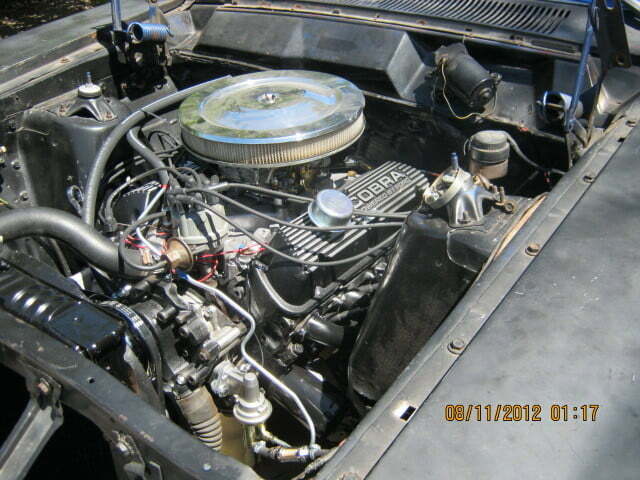
Seems like once the engine and transmission were in place, the “easy stuff” could go fast. And compared to the engine/trans install it did. However, as in any semi-custom engine swap – the right combination of parts and pieces need to come together. So here’s the “straight scoop”
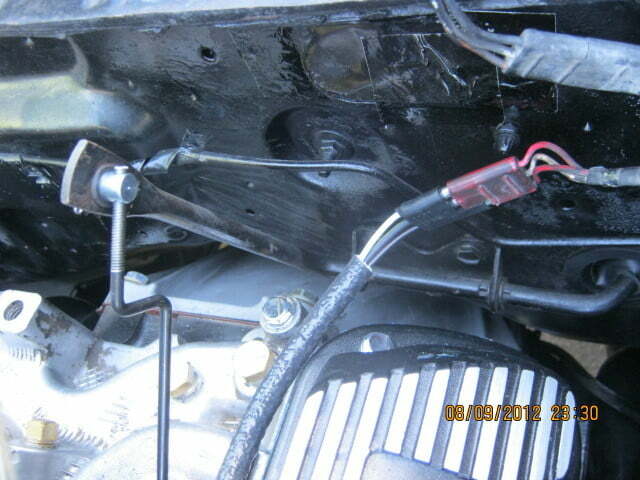
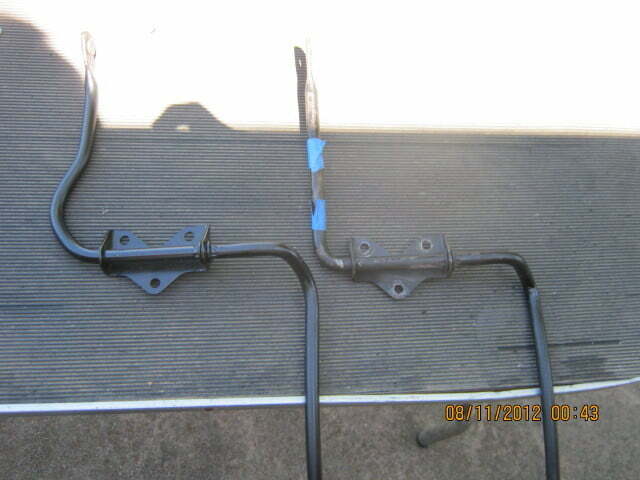
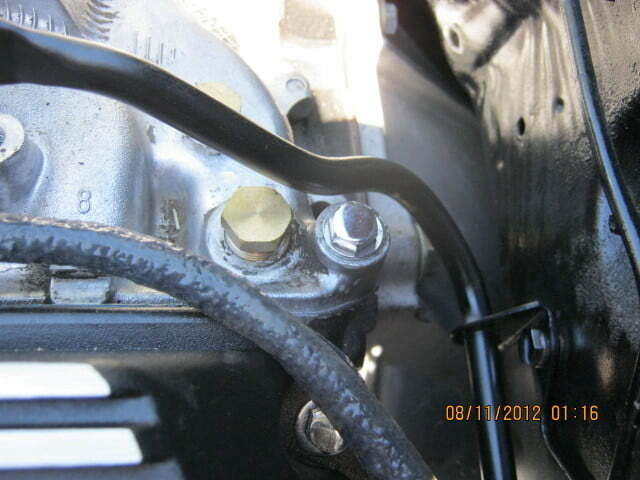
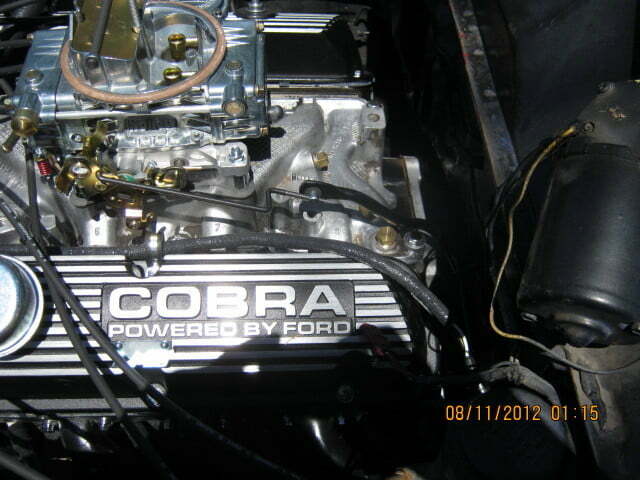
As I mentioned in Part 1 on the swap, I have used an aluminum intake manifold from a 1985 Mustang GT 5.0. This manifold takes a 4 bbl carb and I purchased a new Holley 600 cfm 4bbl. from Summit. Test fitting the carb to the intake revealed two small issues. First, it seemed like the throttle “butterflies” were slightly rubbing in the bores of the intake. Also, the studs on the intake were too long. So I solved this with a 1″ spacer kit. Now the carb functioned smoothly and the studs (supplied with the spacer) were a perfect fit. Now two more issues became apparent. First, the stock pedal linkage arm hit the rear bolt on the intake. Why this happened is another Henry Ford ghost story, but it did. The solution was to use the pedal linkage from a big block 1966 Ranchero. See the photos of the “curve” in the upper arm where it meets the manifold. I had purchased a stock Ford 4bbl. linkage rod that went from the pedal arm to the carb. However, this rod was made for a stock Ford Autolite carb and not a Holley. The problem was solved by finding a guy on eBay who sold custom hiem joint rods (only $35) to solve this issue. So, the carb and linkage is done.
I had purchased a chrome thermostat housing for the car. This comes with an “O” ring gasket and cannot use the paper gasket supplied with my rebuild kit. Bottom line – it leaked like a sieve!! So, a stock cast iron thermostat housing was purchased and seals perfectly. This housing takes the stock small block Ford heater bypass hose and upper radiator hose. The LOWER radiator hose was an altogether different story. Again, as I mentioned in part 1, I had the stock radiator re-cored and the bottom tank outlet moved to the driver’s side. The 1970 Mustang water pump complimented that move. However – no one makes a molded hose to fit this custom set-up. So I was forced to use a flex hose until I find a molded hose to fit.
The car had most of the engine bay wiring harness intact. It was missing the harness from the solenoid to the alternator and the ignition to the coil and oil & water sending units. I purchased two reproduction 289 Mustang solenoid to alternator harnesses. One was used for the alternator and the other to use the special Ford connector and rewire it for the coil and sending units. Worked like a charm ! I shortened the starter cable that came with the engine and installed it. Pep Boys supplied the positive and negative battery cables. Rock Auto supplied the coil, voltage regulator, and solenoid and spark plug wires from their vast catalog of parts.
The engine was filled with oil and the cooling system topped off. We were ready to fire !! However, before the engine was fired, the opportunity came to get the car into a friends “barn garage” where he does his own car work. He has a super body man – he did my Scarab Z – and was between projects for a few weeks. So my Ranchero could get in for bodywork and paint ? Was I ready ? You betcha !! So we towed the car there and will fire it in a week or so. But, the work is progressing smoothly and no rust has been found anywhere on the car !! Sometimes you get lucky ! Stay tuned


