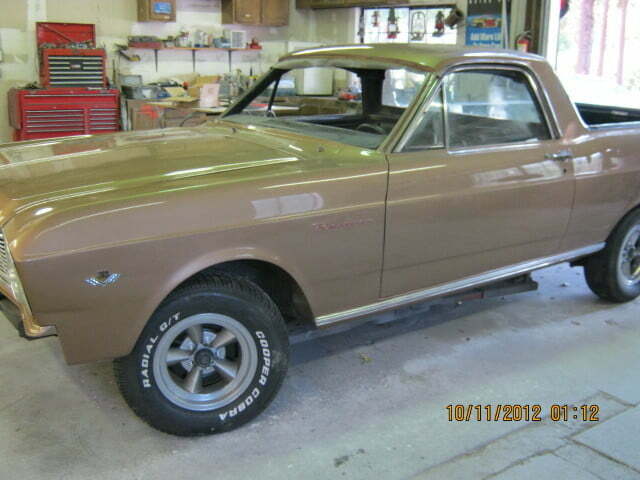
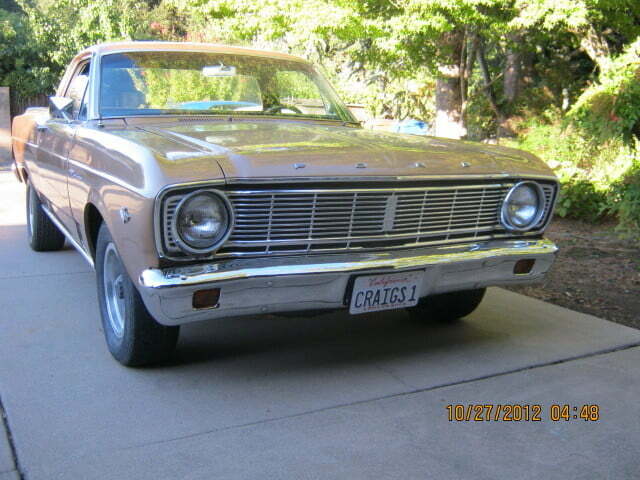
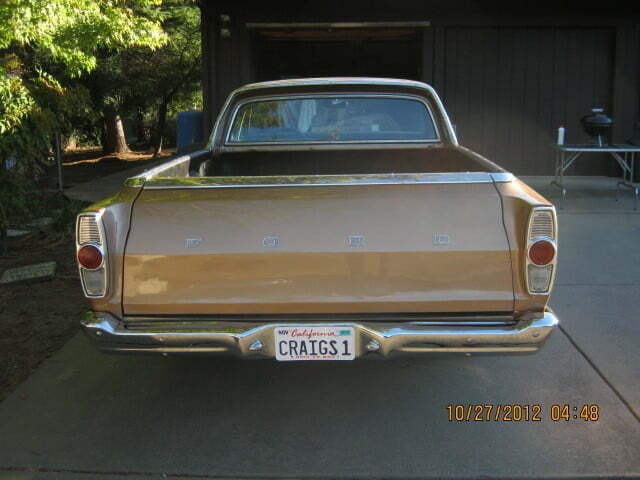
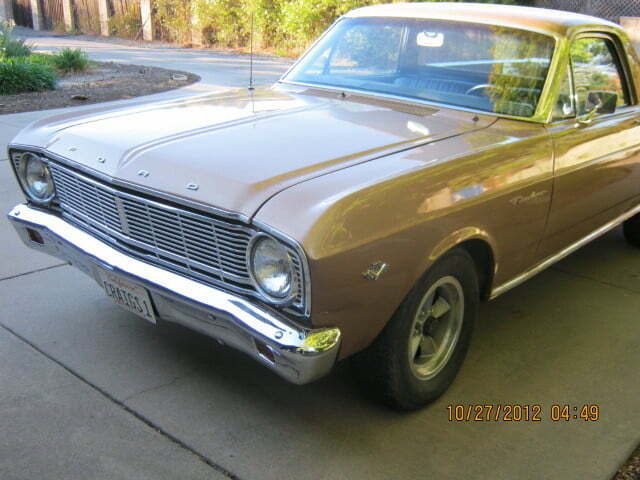

Good grief, I thought it would be about a month to get the final bodywork done and bring the Ranchero home. But there is one indisputable fact about body and paint — you need to sand, sand, sand, and sand some more. Then after the color is on, you need to buff and buff and buff some more. But the results are worth it !! The Ranchero now sports a beautiful antique Prairie Bronze Gold color with all-new repop emblems, freshly chromed bumpers, and refurbed grill and trim. What a difference !!
The bed was sprayed with Rustoleum Satin Black then the bed floor and tailgate inner side were coated in RhinoHide for protection. After all– this is a truck and my new daily driver. Remember to remove the front of the bed floor (this part covers the access to the rear shock upper bolts) and coat that separately. You need to have a nice smooth surface when re-installing this part of the bed floor. A couple of mentions on the emblems. All of the repop emblems came with the inserts that go in the body holes for the emblems. Yet, while the inserts fit tightly in the body holes, the emblems felt loose. So I bought a tube of silicone cement and put a dollop in the mounting inserts and pressed the emblems in. Now they are very secure and the silicone gives a nice seal.
The windshield was cracked when I got the Ranchero and a call to SafeLite Glass had a very professional service installer show up at the appointed time and did an absolutely perfect job of installing the new tinted windshield. All for around $300. Best deal in town. And they came to me !! Before the windshield was installed, I had to install a new headliner. If you’ve never done this, you really need 2 people. This is because you need to stretch out the headliner equally from side to side and front to back. I used 3M weatherstrip adhesive to keep it in place. Not a bad job (for a first-time effort) and careful use of my heat gun should take care of a few ripples (I hope).
So the Ranchero came home. The drive did reveal a few little “gotchas”. The first was that the lower clutch rod — which was with the car and correct for a 289 installation — was too short to completely adjust the clutch. I am guessing that this has something to do with all the mix-and-matched parts I used (see the engine and transmission blogs). I ordered a lower clutch rod for a 6-cylinder Mustang, which is about 2.5″ longer than the V8 rod and this solved that issue. The swap took 15 minutes. Next, the windshield wiper motor was shot and a call to Matt Murphy at MnNFalcons got the correct single-speed motor. So I have wipers.
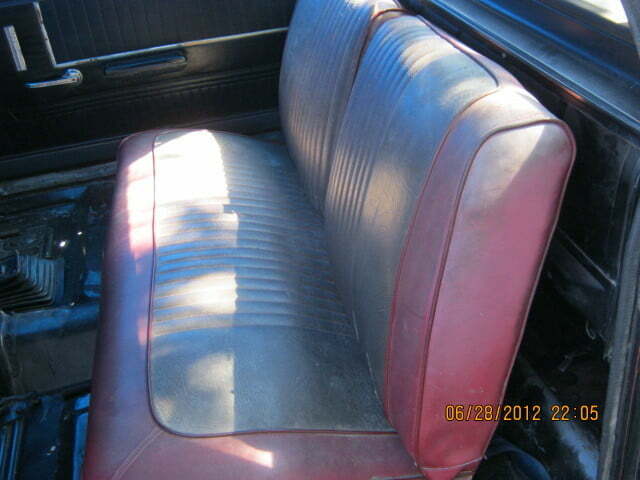
So, what’s next for the Ranchero? Two jobs — the interior and front suspension. I sent out the original seat to be recovered as well as a new back panel made. The headliner kit came with extra fabric to recover the sun visors so they went to the upholstery shop as well. I ordered a complete front-end rebuild kit and brake parts. This will be my next effort.
But the Ranchero is drivable and runs great. That 5.0 and 3:55 posi rear make for a nice “scoot” when pushed. Soon the inside will look as good as the outside. Hopefully, it won’t take two months. Stay tuned.


